Monday, 10 January 2011
Character Animation evaluation
Well this project has been a very tricky one for me, i defiantly feel i can improve on it but i enjoyed doing it as it was all new to me i feel my model is alright and but the best thing of this project is my understanding of UV mapping, Texture Mapping, Hyper-shade, Rigging and of course modeling. i will be redoing this model and just modeling in general cause every piece of knowledge i have gained i enjoyed vert stressful but enjoyable.. things i never liked is how my my model never turn out better my texturing was basic and i guess my time management could be hell of a lot better but i will grow from this.
Poses
Here is My Characters free spirit were i have screen shots of him posing


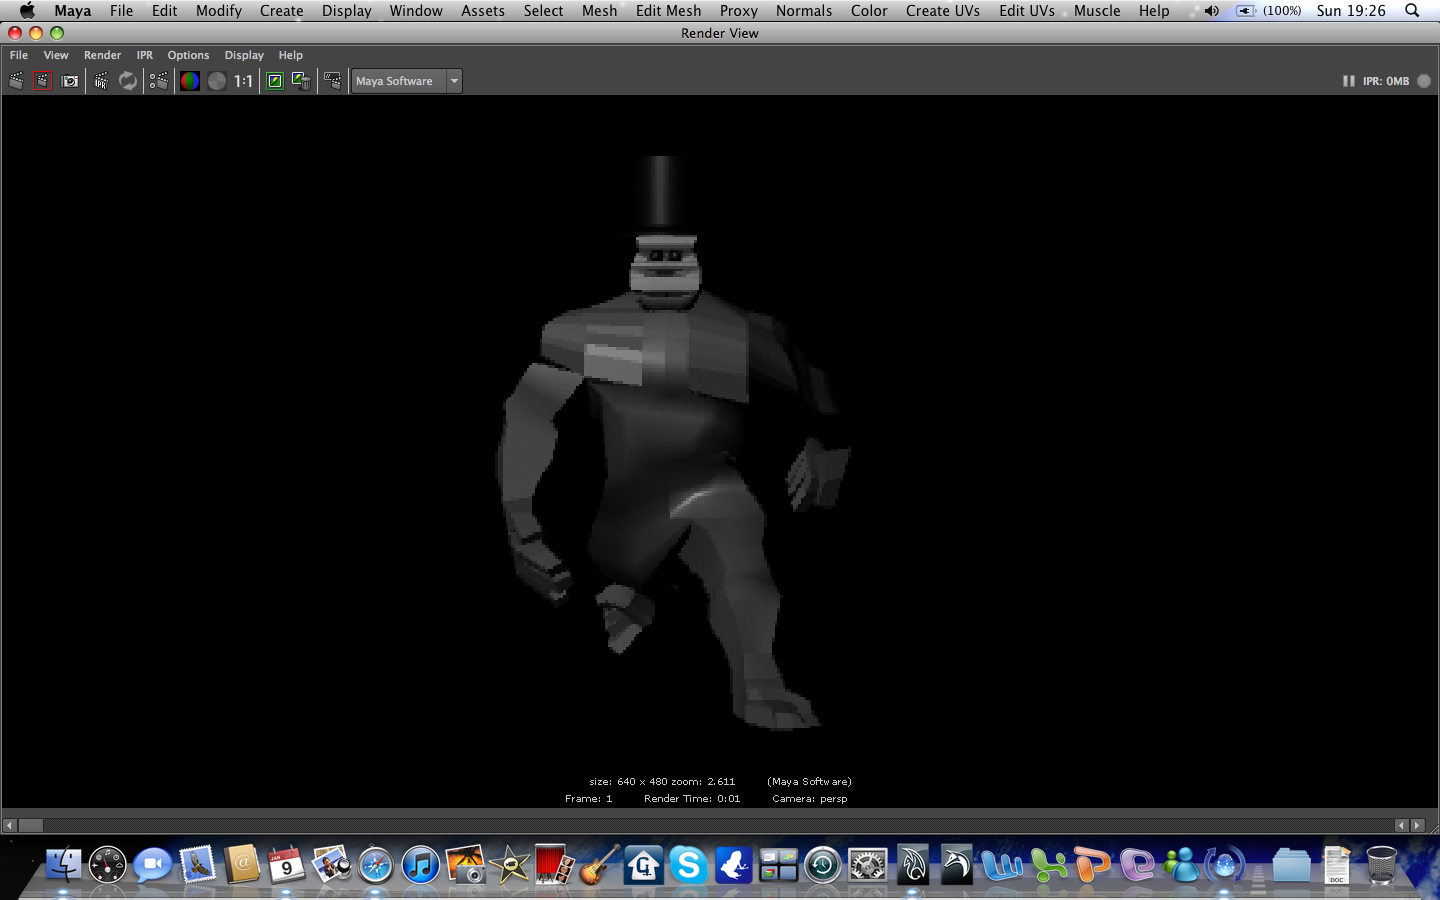


so above i have 3 set poses in perspective from different angles and also in a render shot light is not great so my apologies.
1. bow pose
2. a leap pose
3. sitting and stair pose


texture mapping Character
Here below are my character fully textured not a area i am great at and is room for improvement in alot of areas but all a learning curve. i have screen shots from maya and also from photoshop before importing my texture file through hyper-shade.


Texture mapping
texturing a technique used to apply a surface to make a object or character to create a pattern. texturing was not as easy as it looks but very simple to understand texturing is used with uv mapping to create the textures flow of pattern, when i started texturing i had to use a option box called hyper shade, a working area were you see all the textures types you deal with such as lambert, blinn and many more but these was the only two what was essential for this project. Blinn is a texture layer used for object what you want to have a shine to it so for example if your texturing a table with wood you would apply the wood to a blinn on its object and for a Lambert you would use on something like a rug with a carpet or fur to give the flat look. but right click on a mouse helps you to access to assign a material but hyper-shade is a good way of a tidy layout of seeing and naming your textures.


Uv Mapping
UV mapping was a pain took a while to grasp this technique to my understanding uv mapping is when you take a object and rap a texture around it. with uv mapping you need to make sure all your textures are the same size, depending on the object there are different techniques what you can use to help uv a object depending on the shape it self. Planar mapping is use more for the flat shapes such as floors, picture frames, rulers, doors ect, then you have Cylindrical mapping what is better use for cylinder shapes such as balls, poles, bottles. Automatic mapping is used best for organic shapes like characters, cars but is very useful for any shape of model and also there is Spherical mapping but i have never used this function but to my understand its not much different to Cylindrical mapping. With all these mapping techniques you have to use the UV texture editor this is a option box what will open where you have a grid on the screen in the top right hand corner there is a zero to one graph were all your uv's will be displayed and that is were you edit your uv's. with this function box open you can move and sew were you select a edge and move an sew together were you can cut along a edge if a piece of the uv you did not want to connect to a section of what is being uv or if you are cutting your seem. unfolding is when you select your uv's to unfold them if there is any over lapping to see if there is over lapping you can turn on shade uv's but these all things i learnt from tutorials from www.digital-tutorials.com i highly recommend this site for any one. here are some examples of my uv mapping bellow :


Rigging... research
Below after reading up on this technique i found on wikipedia some useful info what has helped me and can help others of understanding rigging or in proper terms skeletal animation.
http://en.wikipedia.org/wiki/Skeletal_animation
http://en.wikipedia.org/wiki/Skeletal_animation
Skeletal animation is a technique in computer animation, particularly in the animation of vertebrates, in which a character is represented in two parts: a surface representation used to draw the character (called the skin) and a hierarchical set of bones used for animation only (called the skeleton).
This technique is used by constructing a series of 'bones,' sometimes referred to as rigging. Each bone has a three dimensional transformation (which includes its position, scale and orientation), and an optional parent bone. The bones therefore form a hierarchy. The full transform of a child node is the product of its parent transform and its own transform. So moving a thigh-bone will move the lower leg too. As the character is animated, the bones change their transformation over time, under the influence of some animation controller.
Each bone in the skeleton is associated with some portion of the character's visual representation. Skinning is the process of creating this association. In the most common case of a polygonal mesh character, the bone is associated with a group of vertices; for example, in a model of a human being, the 'thigh' bone would be associated with the vertices making up the polygons in the model's thigh. Portions of the character's skin can normally be associated with multiple bones, each one having a scaling factors called vertex weights, or blend weights. The movement of skin near the joints of two bones, can therefore be influenced by both bones.
For a polygonal mesh, each vertex can have a blend weight for each bone. To calculate the final position of the vertex, each bone transformation is applied to the vertex position, scaled by its corresponding weight. This algorithm is called matrix palette skinning, because the set of bone transformations (stored as transform matrices) form a palette for the skin vertex to choose from.
Strengths
- Bone represent set of vertices (or some other objects, which represent for example a leg).
- Animator controls fewer characteristics of the model
- Animator can focus on the large scale motion.
- Bones are independently movable.
- Animator controls fewer characteristics of the model
An animation can be defined by simple movements of the bones, instead of vertex by vertex (in the case of a polygonal mesh).
[edit]Weaknesses
- Bone represents set of vertices (or some other object).
- Does not provide realistic muscle movement and skin motion
- Possible solutions to this problem:
- Special muscle controllers attached to the bones
- Consultation with physiology experts (increase accuracy of musculoskeletal realism with more thorough virtual anatomy simulations)
Rigging
Rigging to my understanding rigging is when your creating a skeleton for a character for them to become mobile to move for animation or posing purposes. this is a computer technique used to fuse the skin of a mesh to a skeleton. with in this process i have learn how to parent and connect joints together and mirror. i have also learn how ik handle tool work making the bones more flexible in its movement how to remove and disconnect joints how bind skin is were you find smooth bind were this function is when you fuse the skeleton rig to the skin/mesh. rigging for me was not as much of a pain for me but was confusing at first as its my first time me doing it.
below is a link of a quick rigging process what helped me a lot
http://www.youtube.com/watch?v=E5nsVg2BlGY


below is a link of a quick rigging process what helped me a lot
http://www.youtube.com/watch?v=E5nsVg2BlGY


Above is some screen shoots of my experience of rigging were i have used all the techniques i have spoken about above
Subscribe to:
Posts (Atom)